What is appium? What is espresso? This blog provides you a brief about Appium.
...RECENT BLOG
2020 / 2 / 27

2020 / 2 / 27

2020 / 2 / 27

2020 / 2 / 27

2020 / 2 / 27
2019 / SEPTEMBER / 5
Appium TestNG API Mobile TestingAutomation Testing

Appium is an open-source test automation tool which allows you to write functional tests to automate iOS and Android mobile applications. One big advantage of Appium over other test automation tools is that Appium tests can be written in any language that has Selenium Client Library including Python, Ruby, Node.js.
Appium supports native, hybrid and web application testing and also supports testing on emulators, simulators and real devices.
It supports cross-platform application testing i.e. single API works for both Android and iOS platform test scripts.
Part 1: Getting environment setup with Appium and TestNG.
Part 2: Writing your Test Cases.
The most difficult part of getting automated mobile testing, is to determine the correct set of tools to use, which version to use and how to install everything correctly so that it works seamlessly together. Sadly, it is not that easy, not a job of just a few clicks to install everything you need.
In this tutorial, we have discussed the recommended tools, that we will be using to show how to automate an Android app. But, there are plenty of other variations also. Below is a comprehensive list of all the tools, which we will be discussing one by one in detail.
Steps to install Chocolatey:
Chocolatey is simply a package management software that makes it easier for us to install and manage other software.
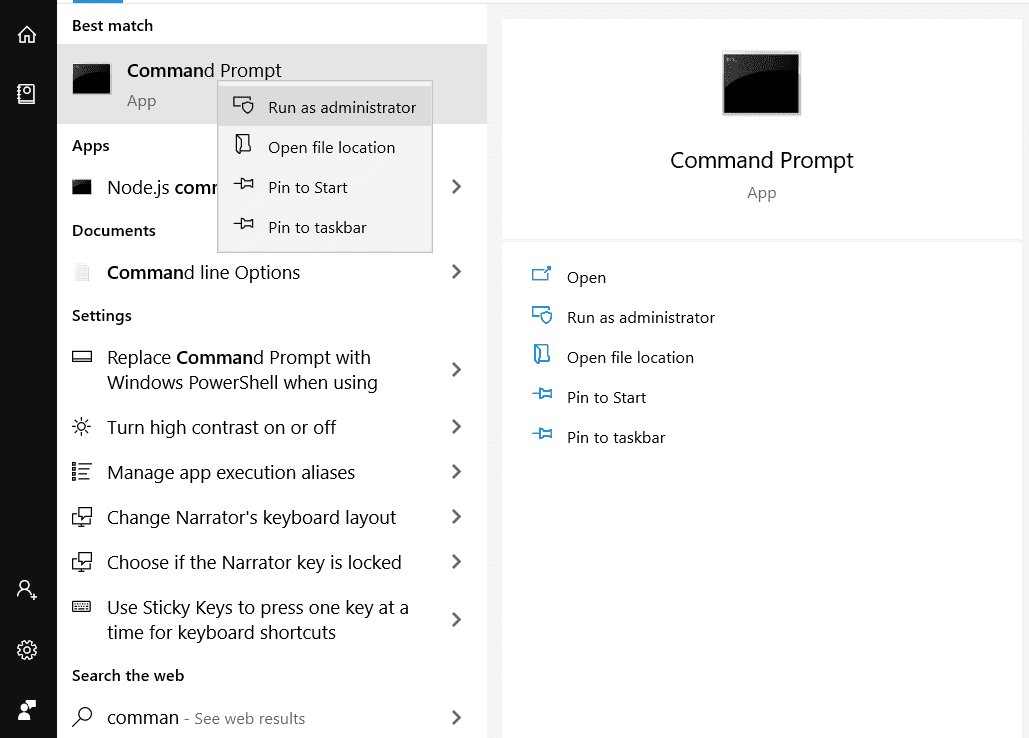
Click on “Yes” button in the dialog that appears.
In case of command prompt enter the following command to install chocolatey
@"%SystemRoot%\System32\WindowsPowerShell\v1.0\powershell.exe" -NoProfile -InputFormat None -ExecutionPolicy Bypass -Command "iex ((New-Object System.Net.WebClient).DownloadString('https://chocolatey.org/install.ps1'))" && SET "PATH=%PATH%;%ALLUSERSPROFILE%\chocolatey\bin" In case of powershell enter following command to install chocolatey
Set-ExecutionPolicy Bypass -Scope Process -Force; iex ((New-Object System.Net.WebClient).DownloadString('https://chocolatey.org/install.ps1'))Steps to Install Node and NPM:
Node is a javascript run-time environment and npm is the node package manager. And why we need these? Because Appium is a node application.
Use chocolatey to install Node. NPM comes installed with Node. SO, you don’t need to install it separately.
Use command:
choco install nodejs.install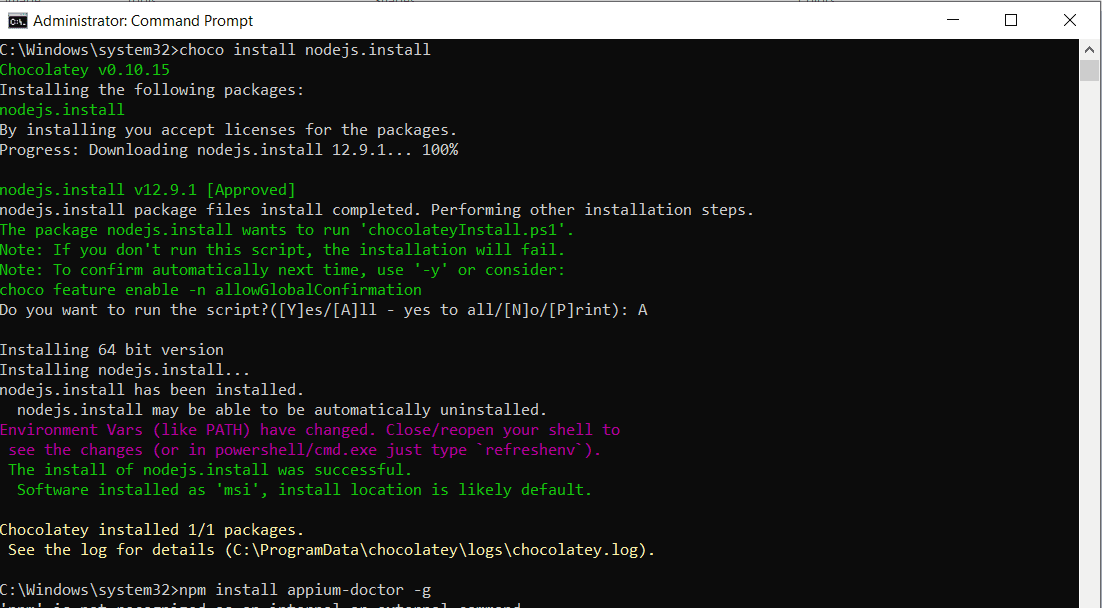
Steps to install JDK and set JAVA_HOME:
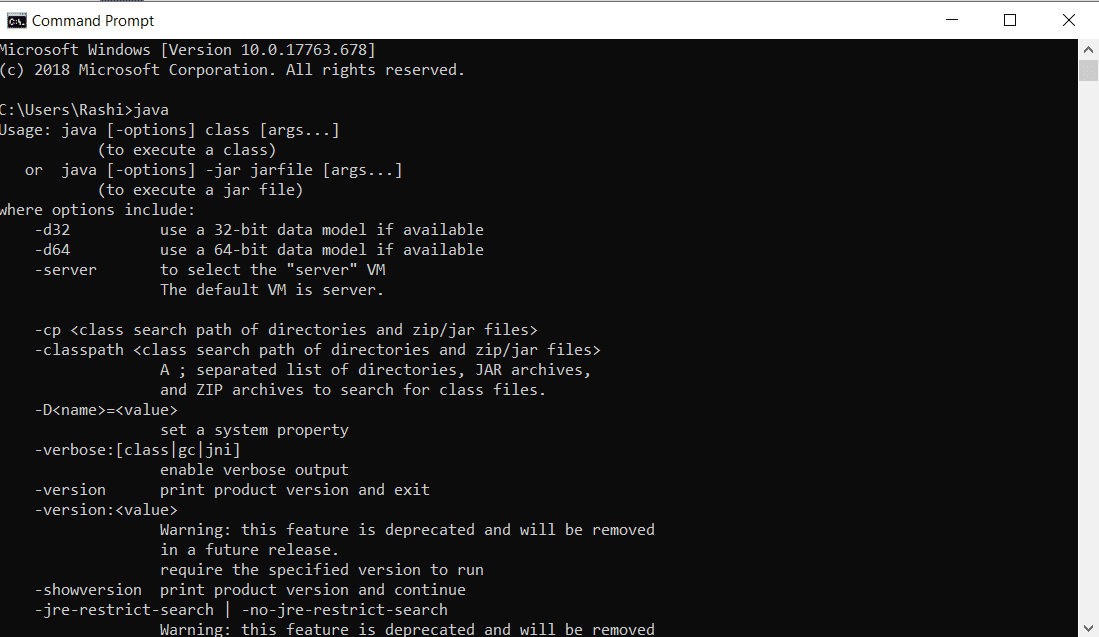
Since our tests will be written using Java language, so we will be requiring JDK- Java Development Kit.
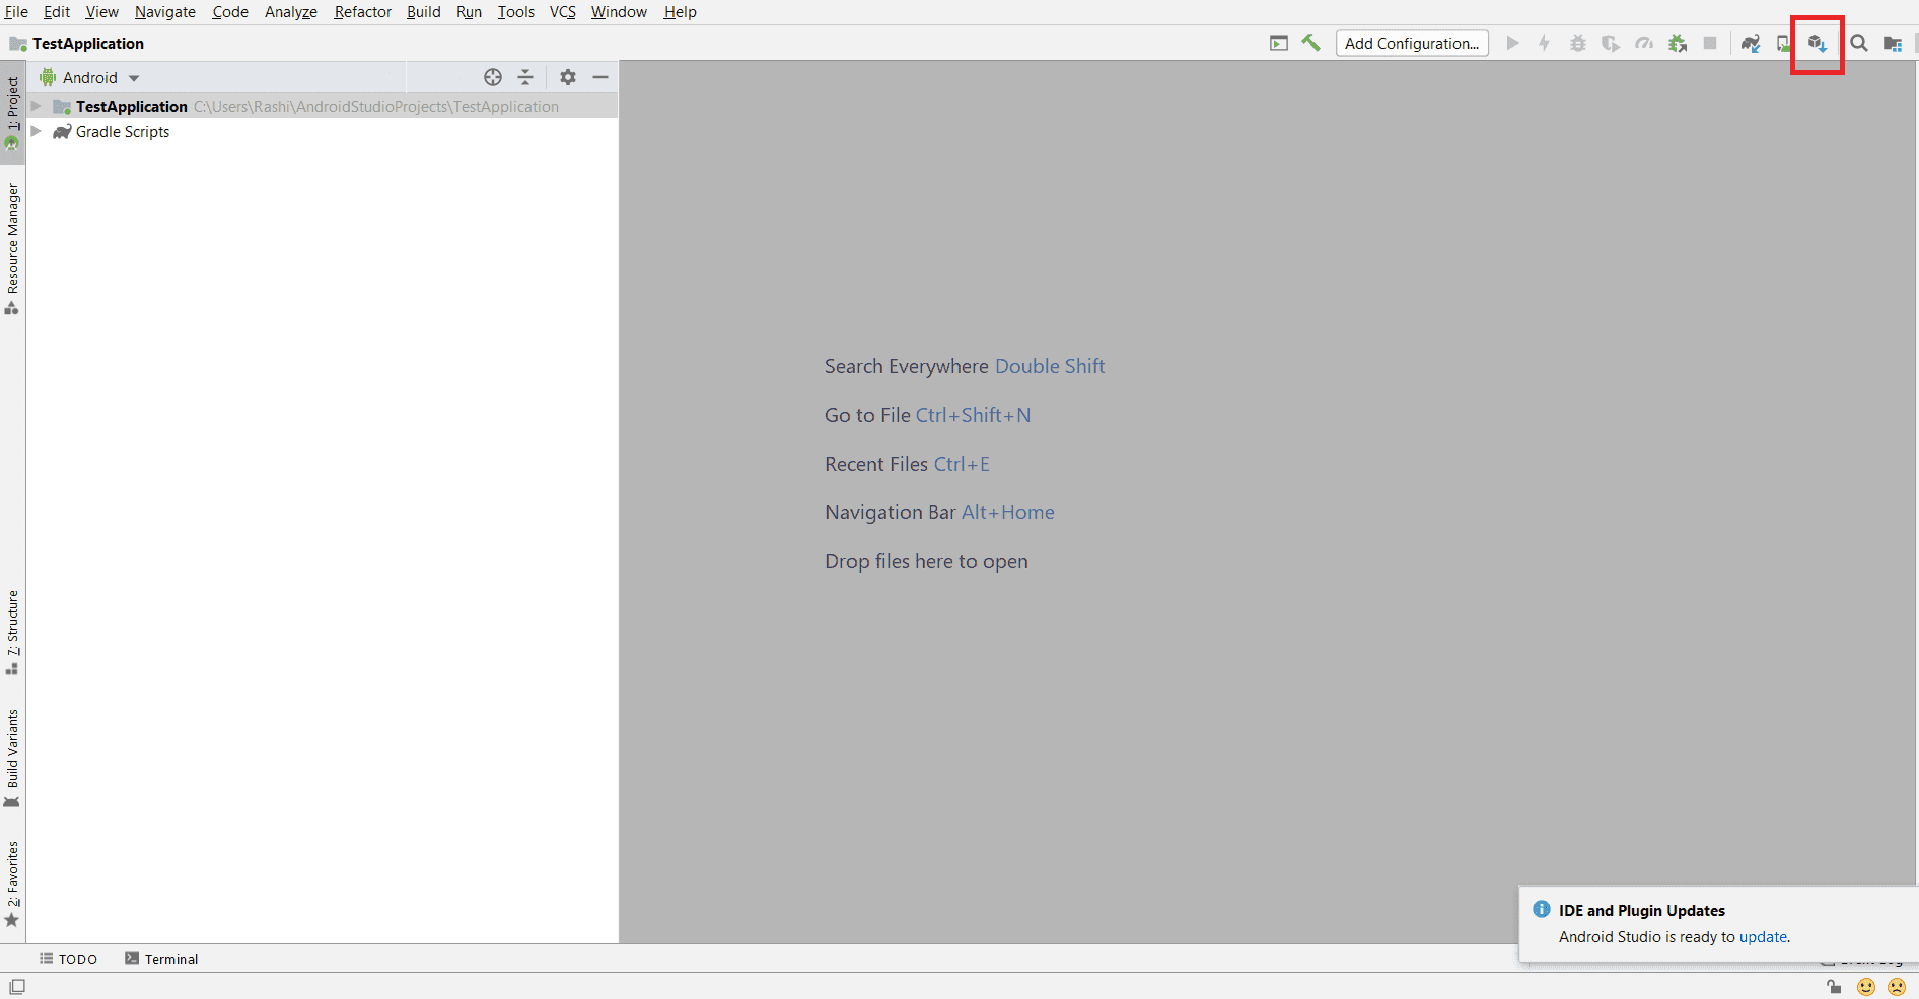
Steps to install Android Studio and Android SDK:
We need Android Studio to write and run tests on Android Apps and Devices.
From the “SDK Tools”, ensure following options are selected:
a. Android SDK Build-Tools
b. Android SDK Platform-Tools
c. Android SDK Tools
d. Intel x86 Emulator Accelerator (HAXM installer)
e. Android Support Repository
f. Google Repository
Click “OK” and install if there are any additions.
Edit the Path Variable under the System Variables to add path of Sdk folder under Android directory “C:\Users\Rashi\AppData\Local\Android\Sdk\”
Steps to install Appium:
Appium is an open-source test automation framework and the hero of today’s tutorial.
Open the Node.js command prompt from the start menu.
Type the following command in the terminal:
npm install -g appium@1.7.2Successful installation of appium can be checked by entering the command- appium in command prompt. If no error message is displayed, it means appium is successfully installed.
Steps to install Appium Doctor:
Appium Doctor is the mini software, whose job is to check whether all of the preconditions for the execution of appium are true or not.
Open the Node.js command prompt.
Type the following command in the terminal
npm install -g appium-doctor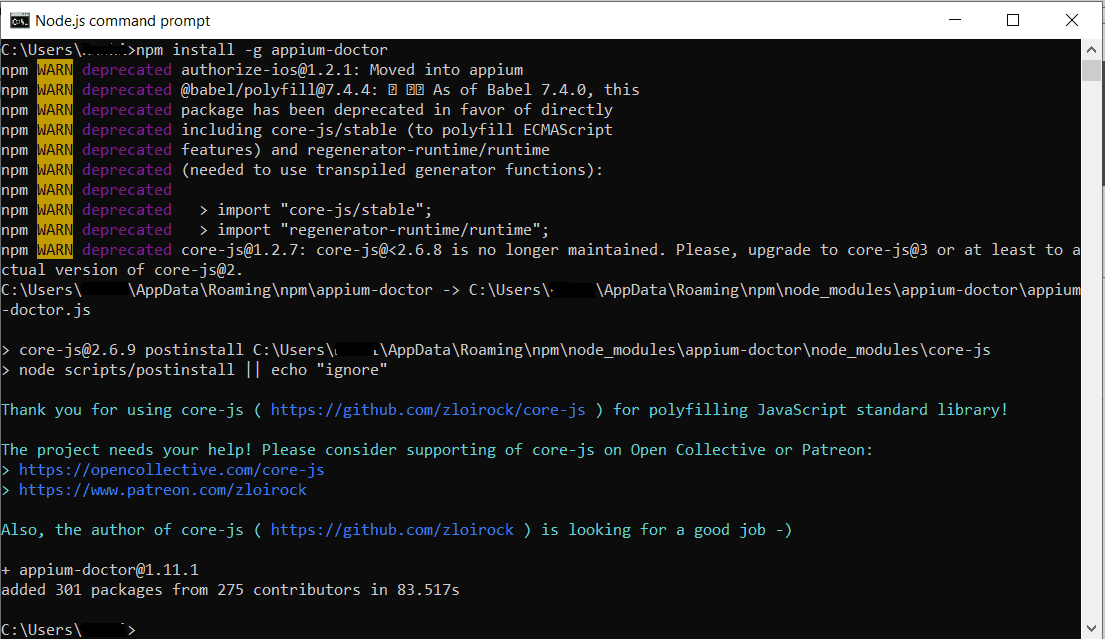
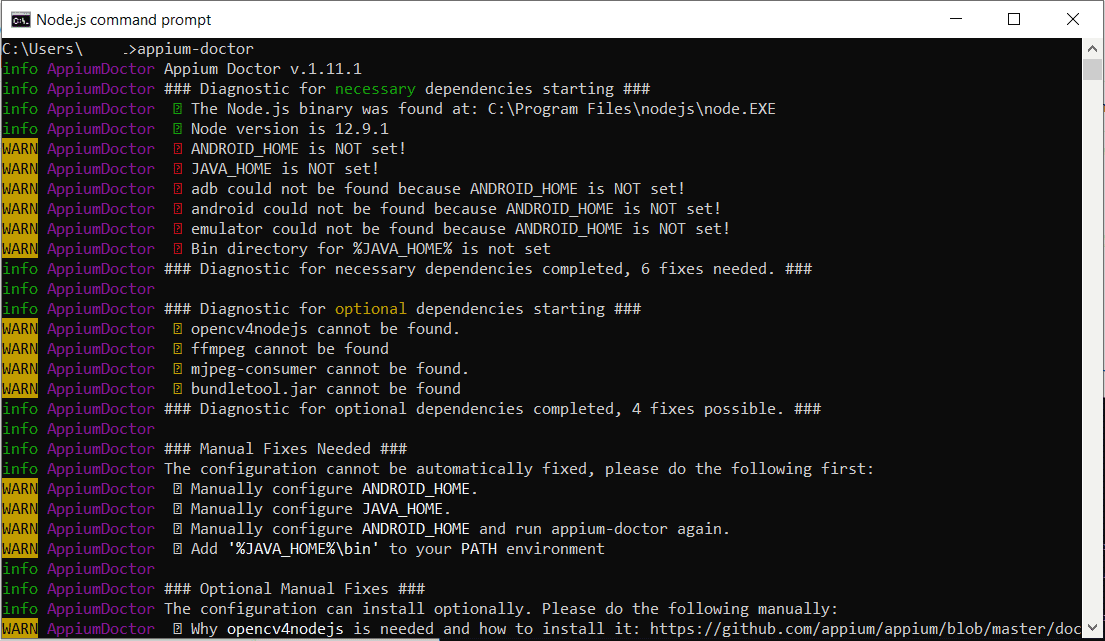
To check the successful install, type the command: appium-doctor in the terminal.
The output will be like this:
Steps to install Gradle:
Gradle is used to create apk and jar files. It is an open-source build automation system.
Open the command prompt.
Type the following command:
choco install gradle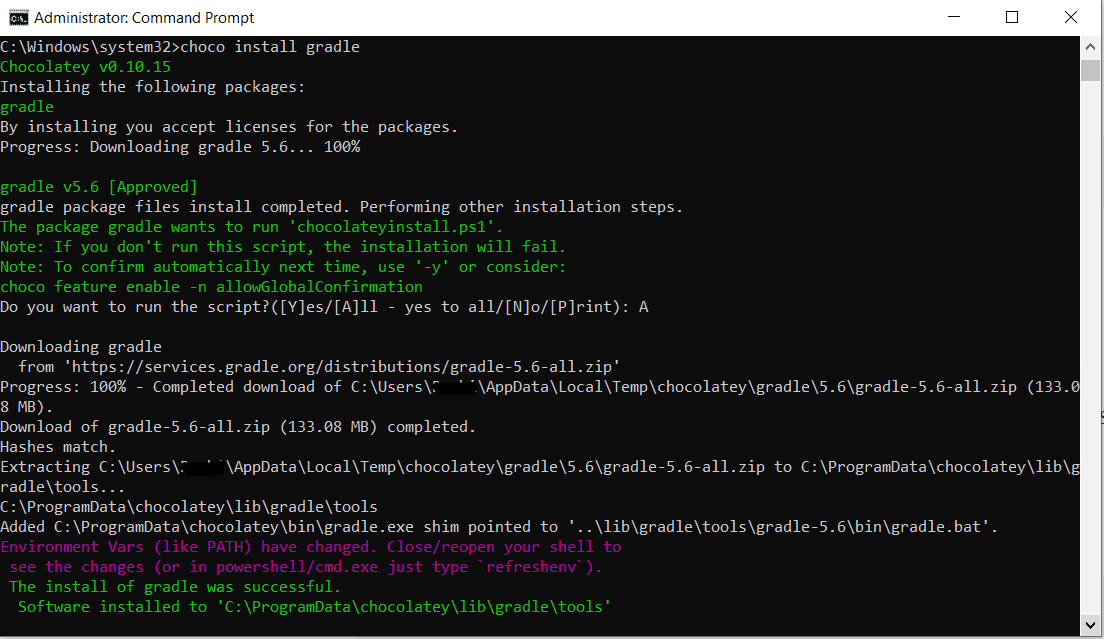
Steps to install Maven:
Maven is a tool used to build and manage Java based projects.
Open the command prompt.
Type the following command:
choco install maven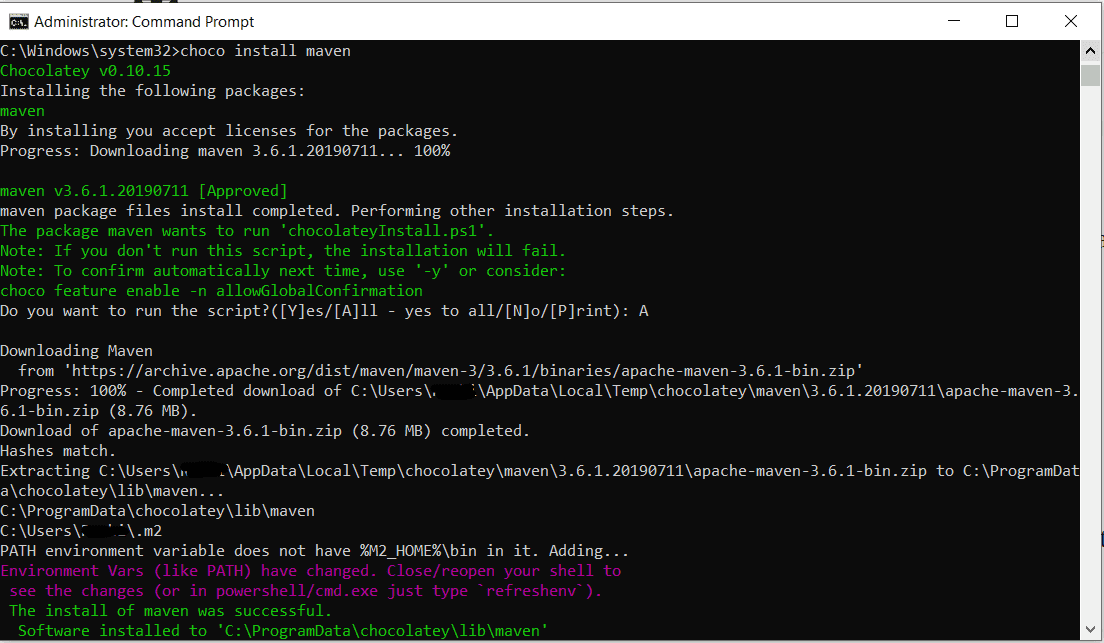
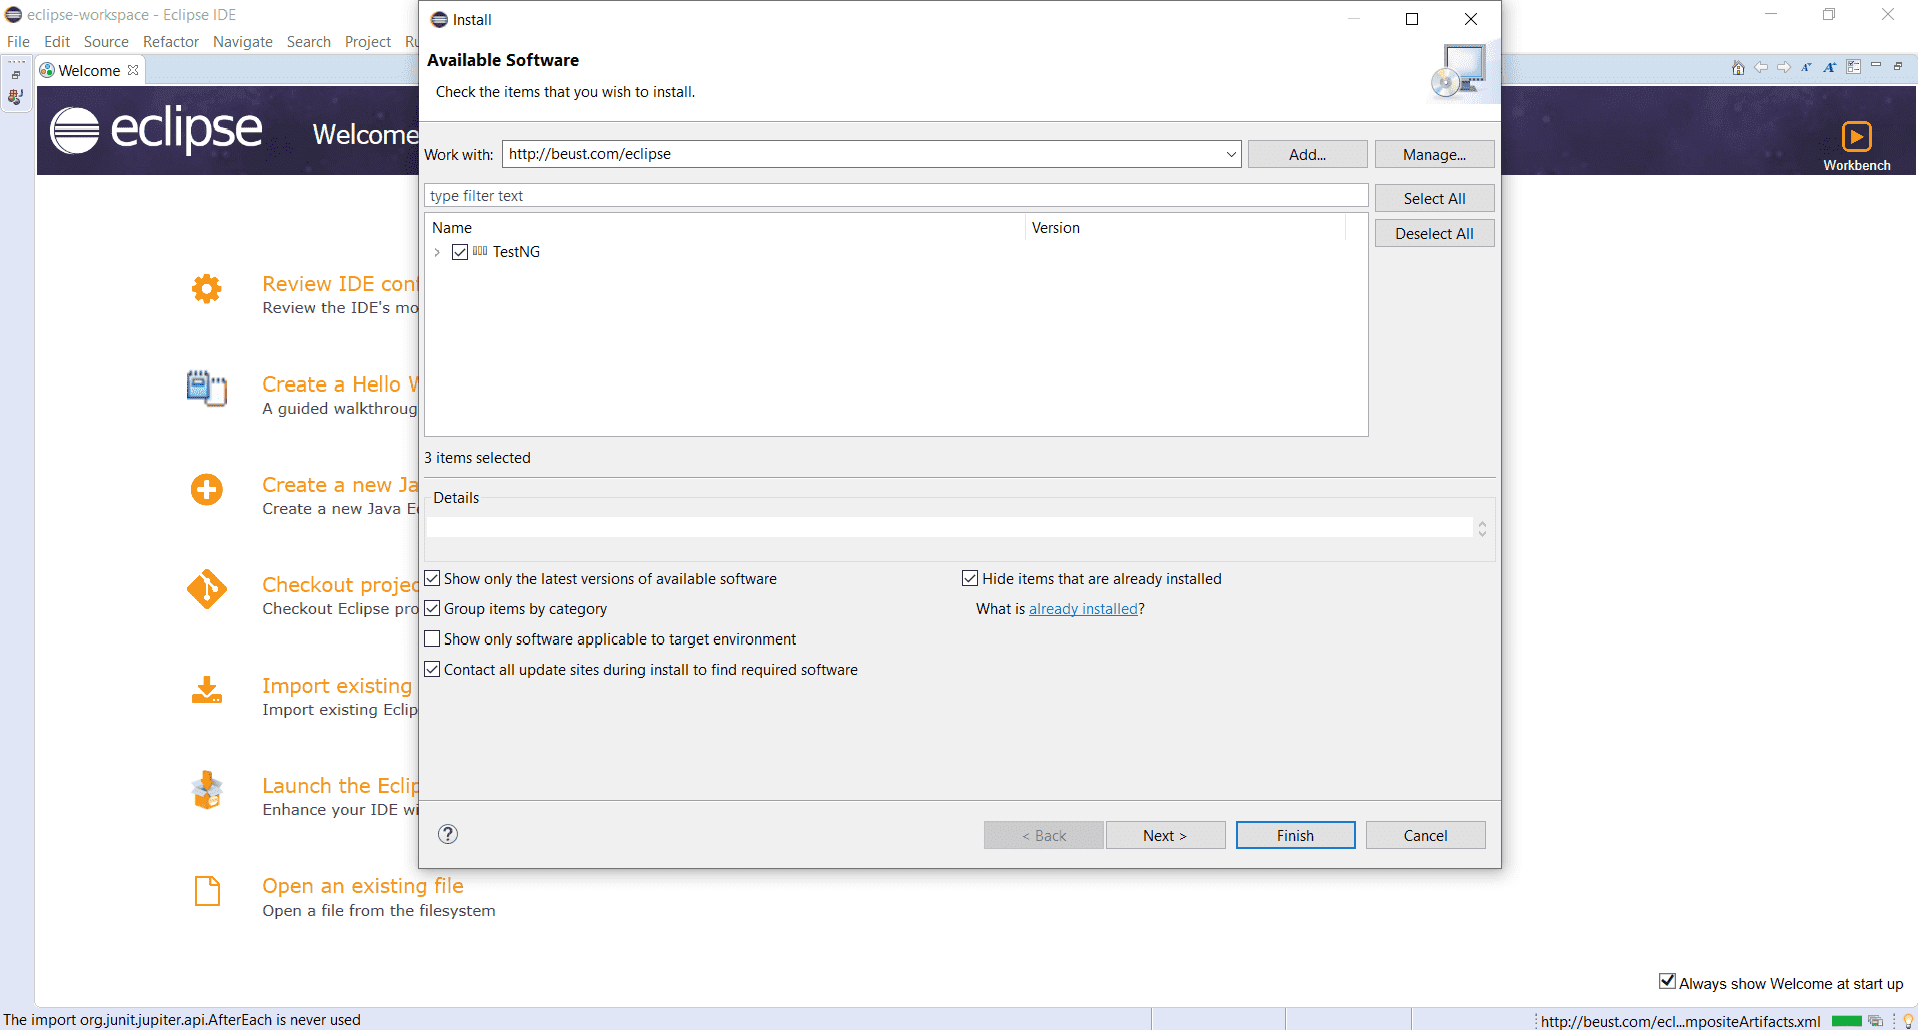
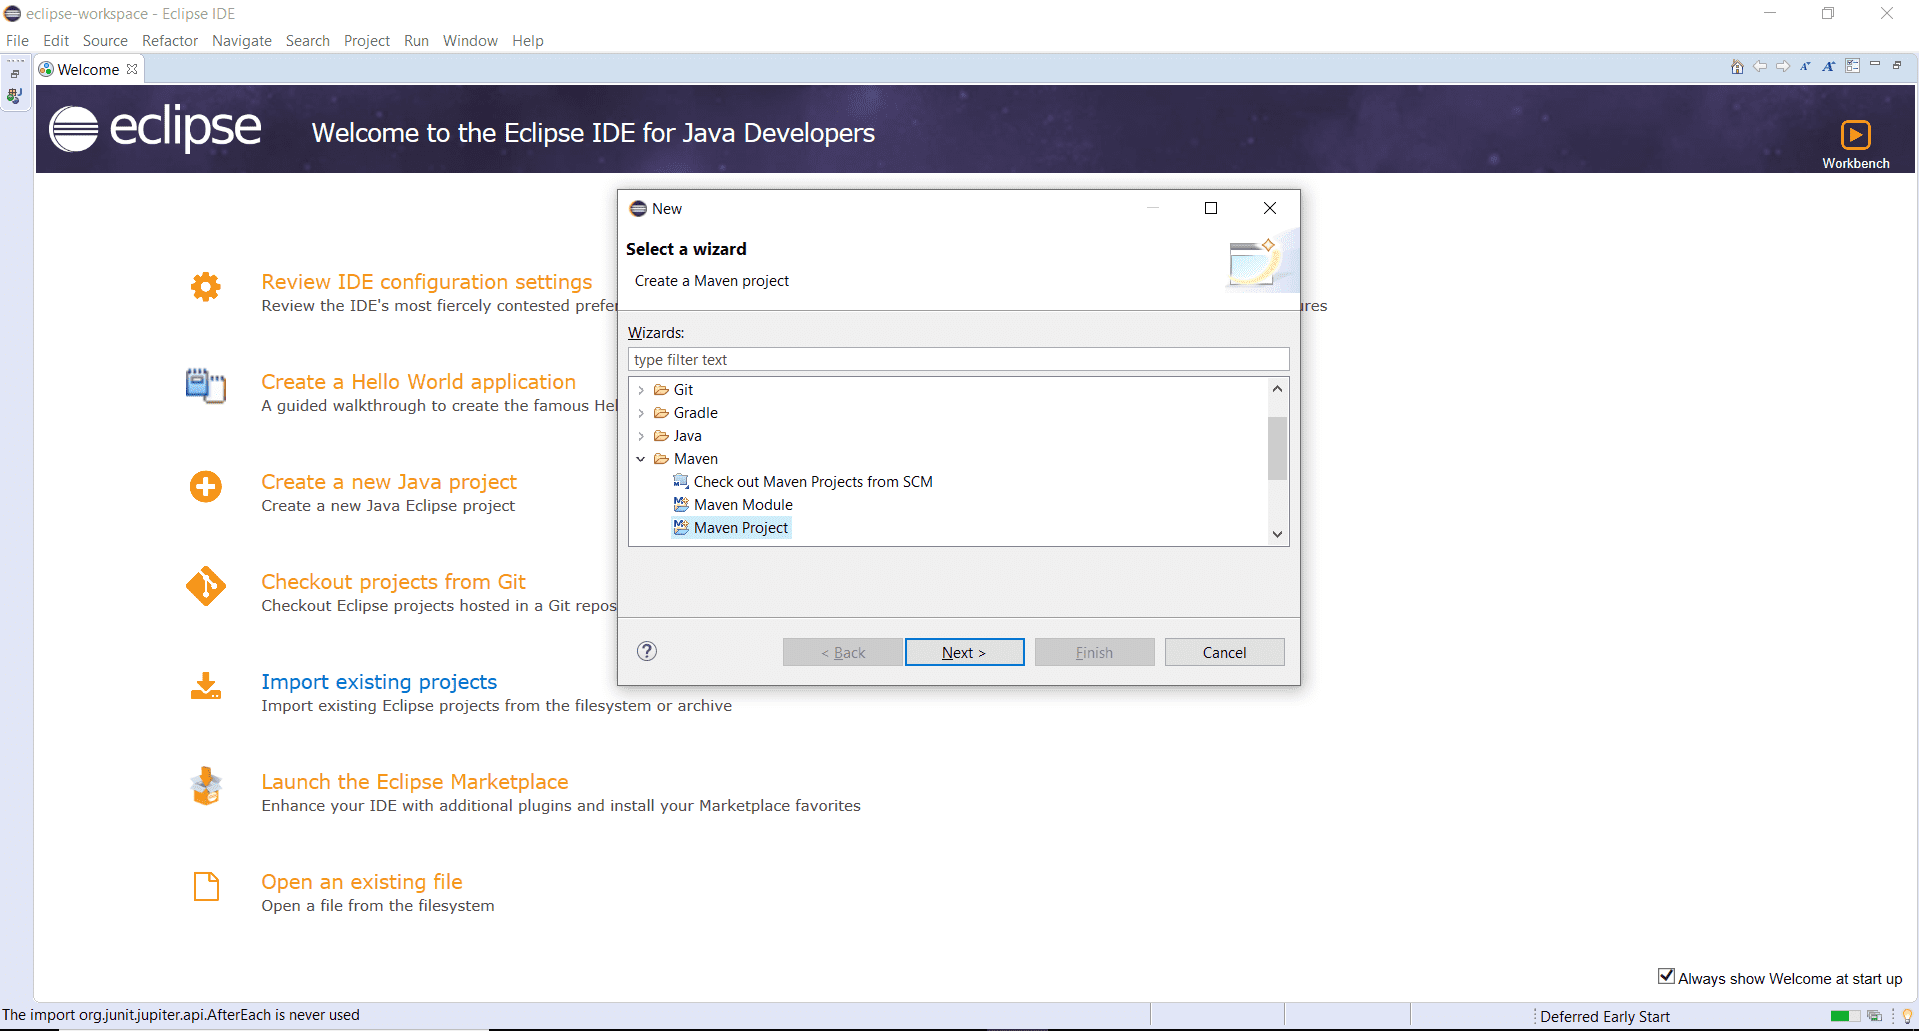
Steps to install Eclipse:
Eclipse is an Integrated Development Environment (IDE). We are going to use eclipse to write, compile and run test scripts.
Steps to install TestNG:
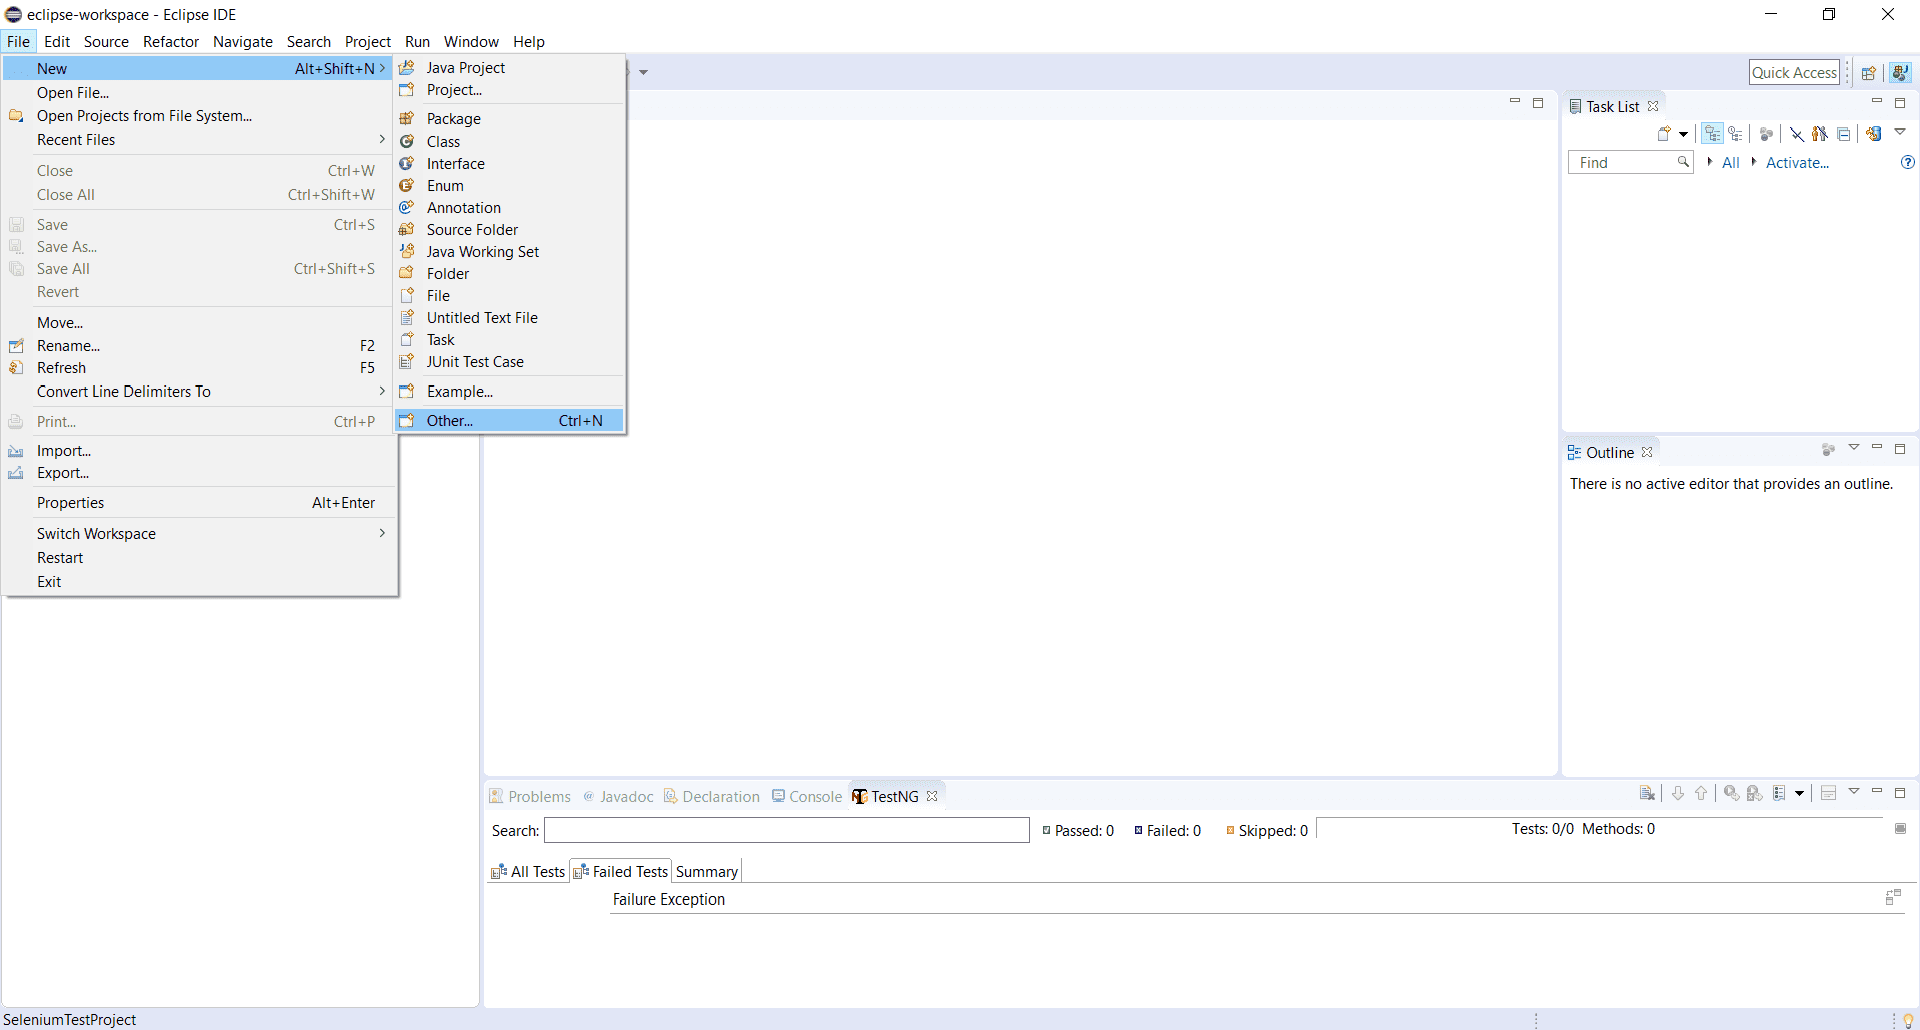
Setting up the project:

        <dependencies>
          <dependency>
            <groupId>
              io.appium
            </groupId>
            <artifactId>
              java-client
            </artifactId>
            <version>
              5.0.4
            </version>
          </dependency>
          <dependency>
            <groupId>
              org.seleniumhq.selenium
            </groupId>
            <artifactId>
              selenium-java
            </artifactId>
            <version>
              3.9.1
            </version>
          </dependency>
          <dependency>
            <groupId>
              org.apache.commons
            </groupId>
            <artifactId>
              commons-lang3
            </artifactId>
            <version>
              3.7
            </version>
          </dependency>
          <dependency>
            <groupId>
              org.testng
            </groupId>
            <artifactId>
              testng
            </artifactId>
            <version>
              6.14.3
            </version>
            <scope>
              test
            </scope>
          </dependency>
        </dependencies>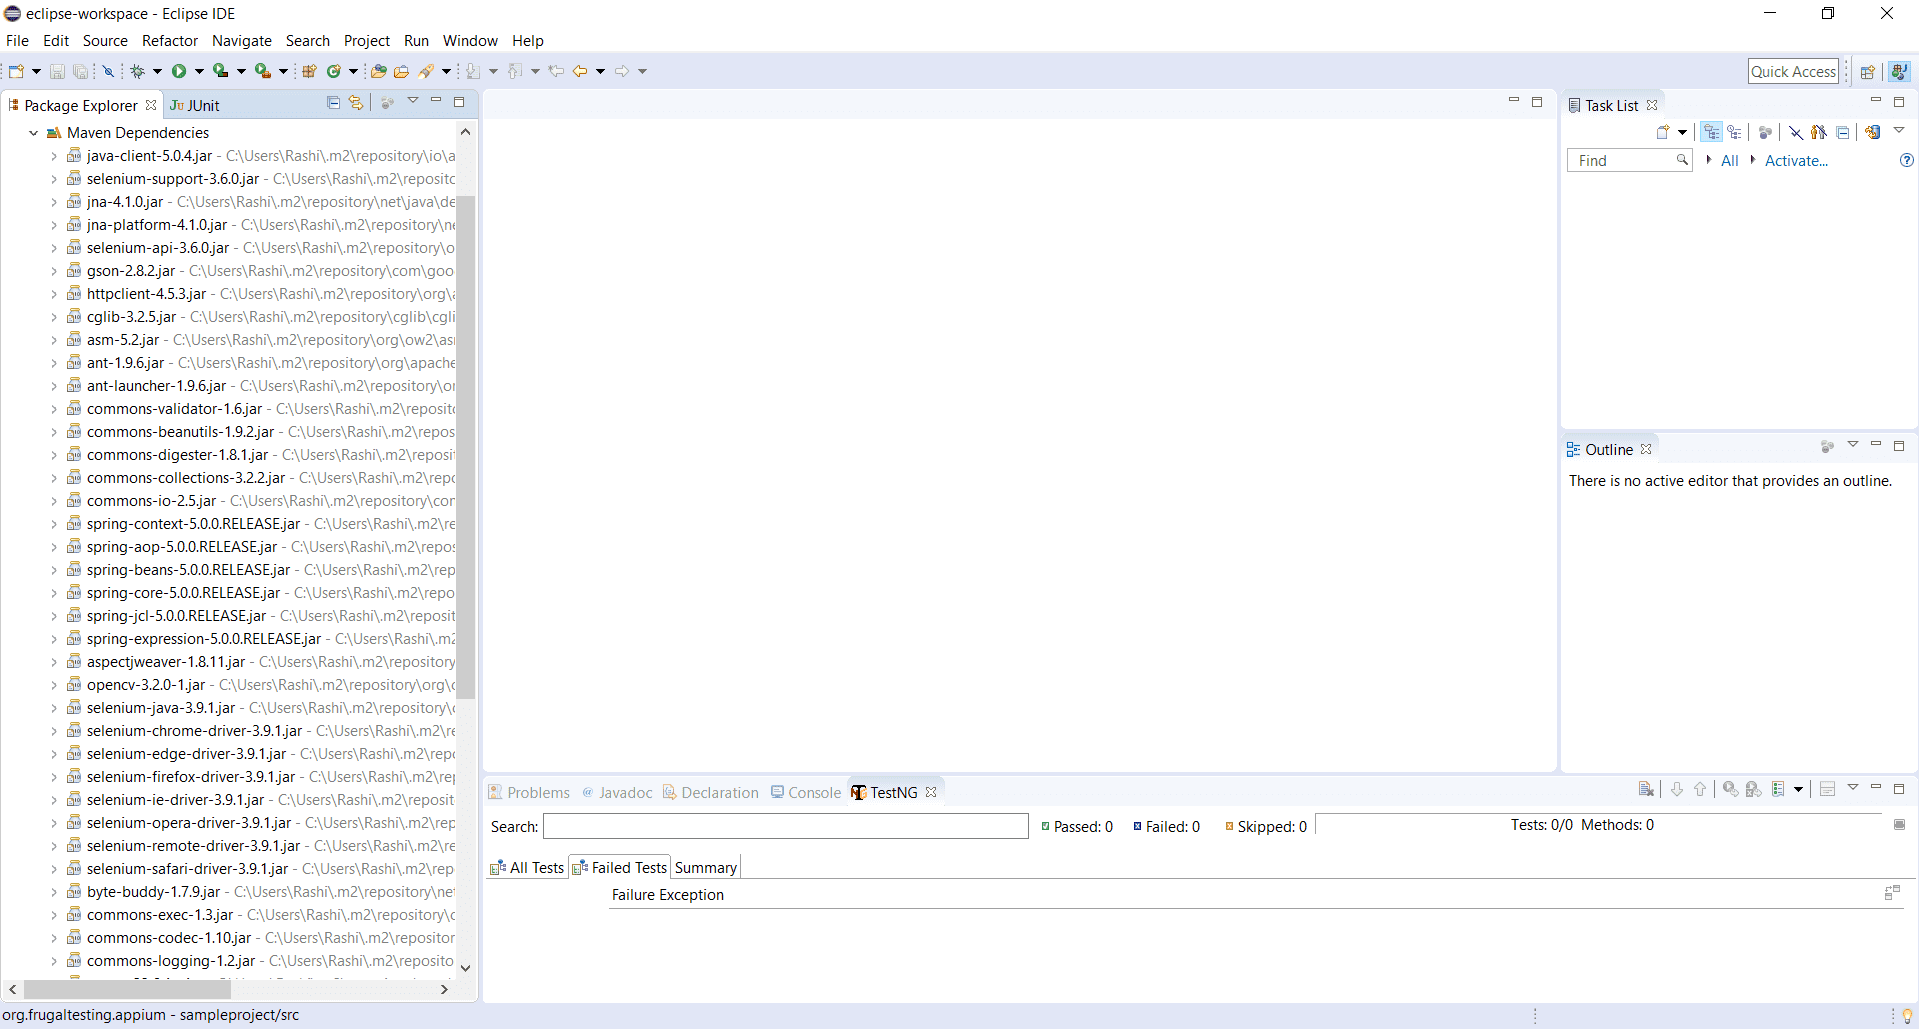
This defines dependencies for Maven to download in this Project.
Writing a basic Test Case:
package org.frugaltesting.appium;
import java.net.MalformedURLException;
import java.net.URL;
import java.util.concurrent.TimeUnit;
import org.openqa.selenium.remote.DesiredCapabilities;
import org.testng.annotations.BeforeSuite;
import org.testng.annotations.AfterSuite;
import org.testng.annotations.BeforeTest;
import org.testng.annotations.Test;
import io.appium.java_client.MobileElement;
import io.appium.java_client.TouchAction;
import io.appium.java_client.android.AndroidDriver;
import io.appium.java_client.remote.MobileCapabilityType;
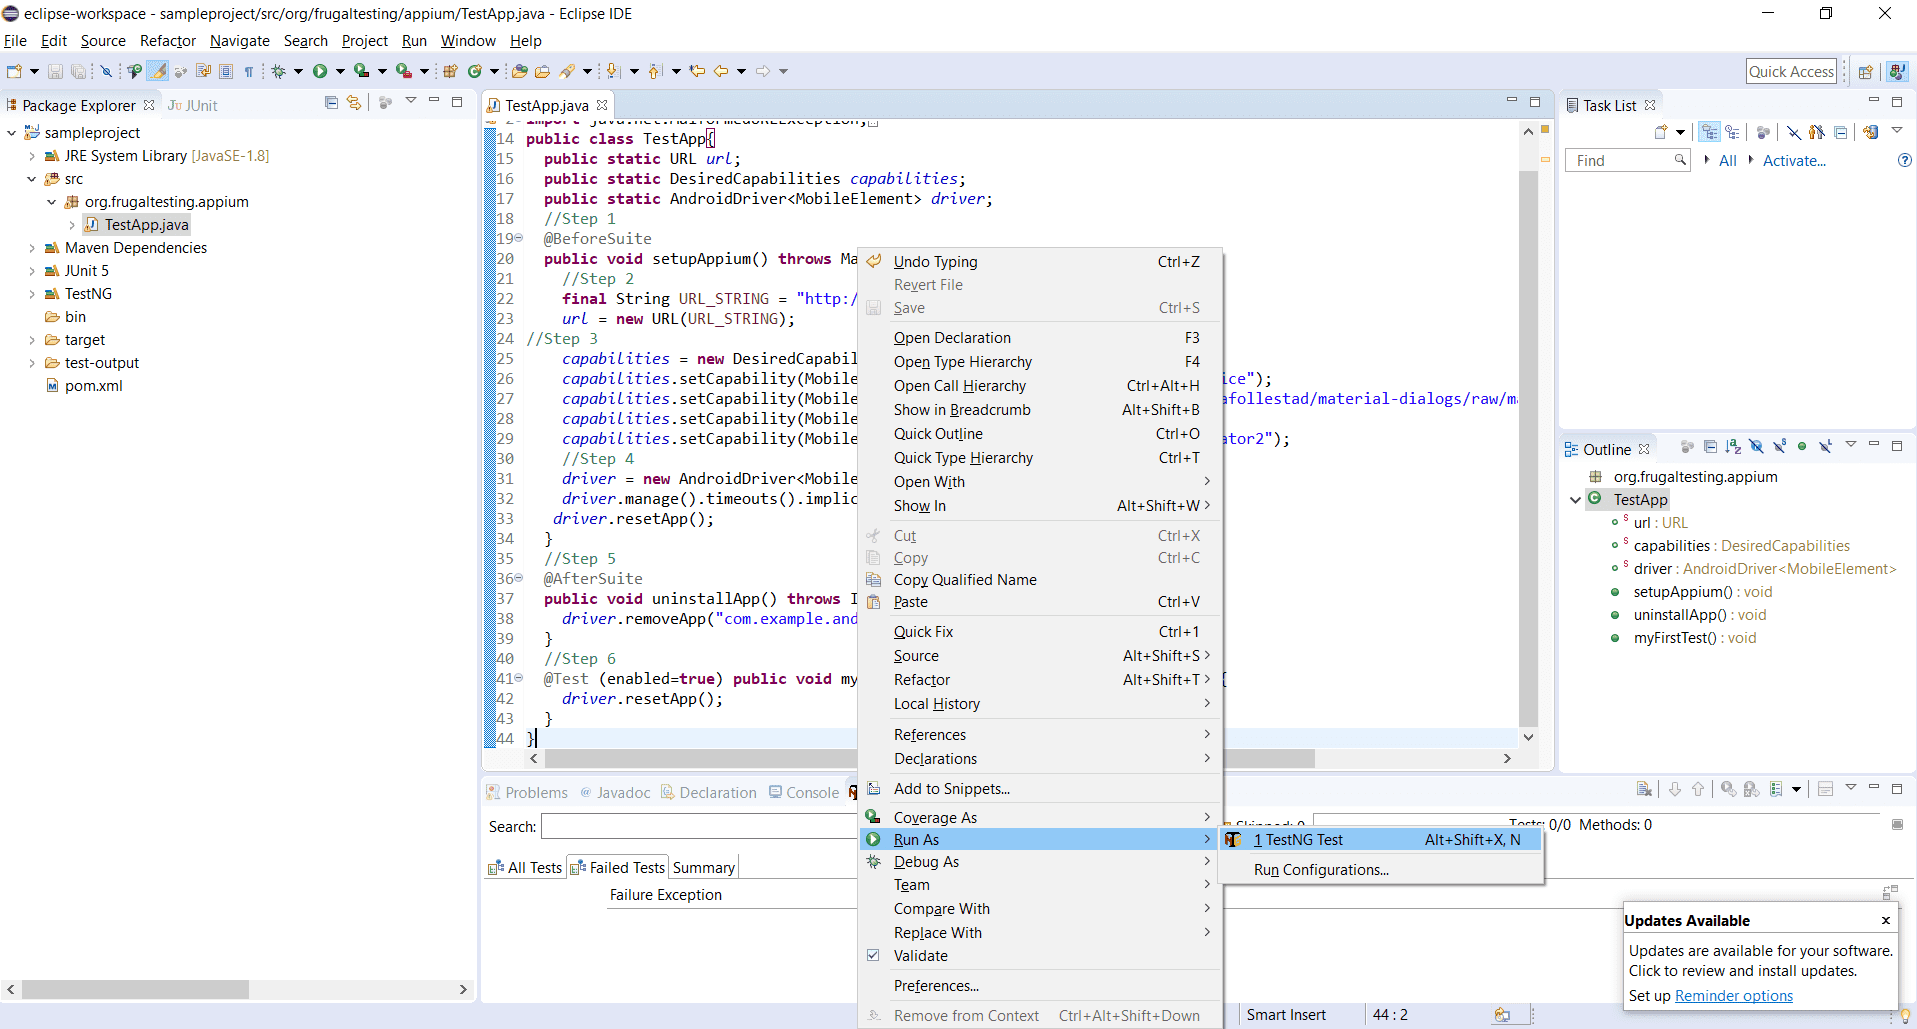
public class TestApp{
public static URL url;
public static DesiredCapabilities capabilities;
public static AndroidDriver<MobileElement> driver;
//Step 1
@BeforeSuite
public void setupAppium() throws MalformedURLException {
//Step 2
final String URL_STRING = "http://0.0.0.0:4723/wd/hub";
url = new URL(URL_STRING);
//Step 3
capabilities = new DesiredCapabilities();
capabilities.setCapability(MobileCapabilityType.DEVICE_NAME, "Android Device");
capabilities.setCapability(MobileCapabilityType.APP, "https://github.com/afollestad/material-dialogs/raw/master/sample/sample.apk");
capabilities.setCapability(MobileCapabilityType.NO_RESET, true);
capabilities.setCapability(MobileCapabilityType.AUTOMATION_NAME, "UiAutomator2");
//Step 4
driver = new AndroidDriver<MobileElement>(url, capabilities);
driver.manage().timeouts().implicitlyWait(2, TimeUnit.SECONDS);
driver.resetApp();
}
//Step 5
@AfterSuite
public void uninstallApp() throws InterruptedException {
driver.removeApp("com.example.android.contactmanager");
}
//Step 6
@Test (enabled=true) public void myFirstTest() throws InterruptedException {
driver.resetApp();
}
}Let’s understand this code, so that you can edit it as per your software attributes.
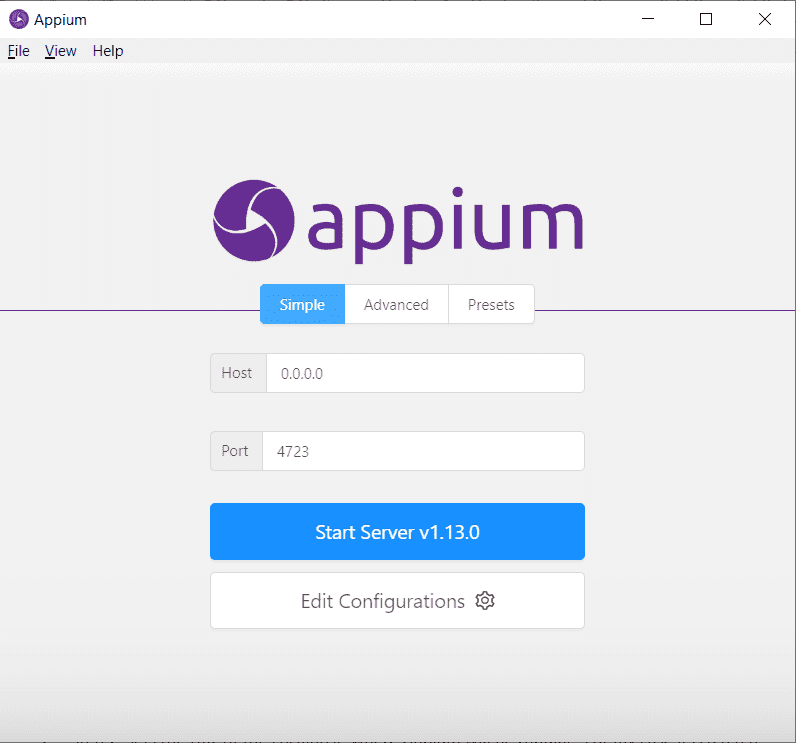
NOTE: You can find the Host and Port by Launching the Appium. You will see the Host and Port on the main screen.
Running your basic tests on real devices
2020 / 2 / 27
2020 / 2 / 27
2020 / 2 / 27
2020 / 2 / 27
2020 / 2 / 27


Validation vs Verification Differences

How to Use Postman for API Testing